Installing a wireless smart doorbell is a relatively easy task that can be completed in minutes. Wireless doorbells offer several advantages over traditional wired doorbells, including that they are much easier to install.
In most cases, you need to mount the doorbell transmitter to the wall and pair it with the doorbell receiver. What else do you need? Let’s see.
Tools and Materials Needed
- Wireless doorbell
- Screwdriver
- Drill
- Level
- Tape measure
- Pencil
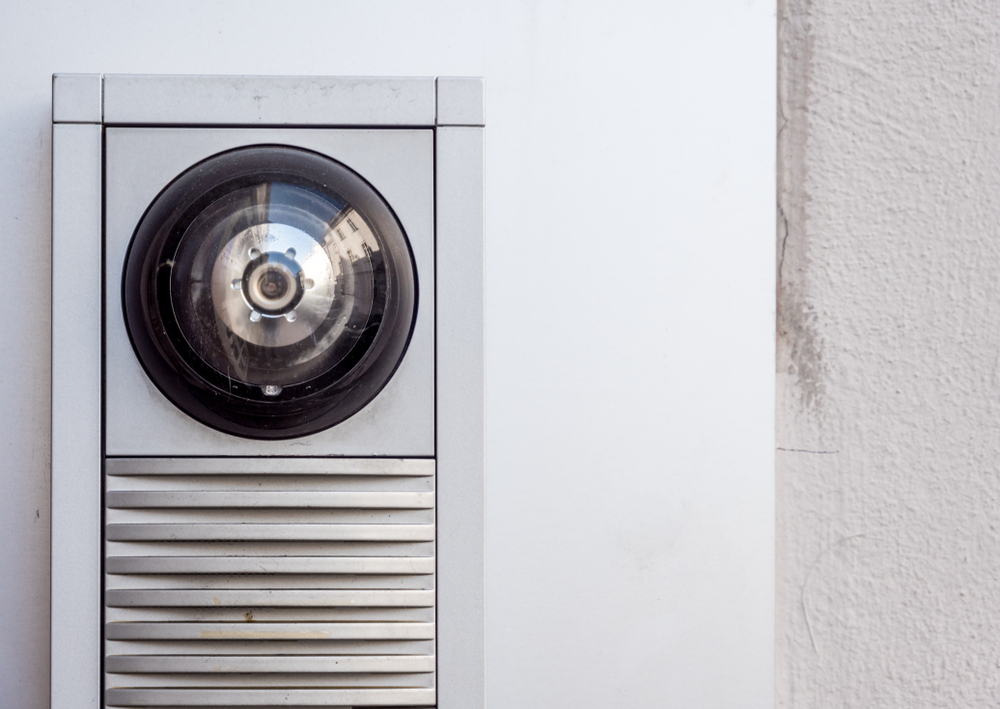
Step One: Choose the Best Location for Your Doorbell
Before you begin, you’ll need to decide the best location for your doorbell. The doorbell should be placed at least four feet off the ground and within reach of your front door.
The important part is to know where to locate your doorbell to make sure that the doorbell is in a location that is free from obstructions, such as trees or bushes. So, of course, before thinking about having a smart video doorbell, think about where you should place it.
Step Two: Drill a Hole for the Doorbell
Once you have chosen the perfect place for your doorbell, use a drill to create a hole for the doorbell wire. The hole should be big enough because you have to keep this mind that fitting matters. So, drill big enough for the wire to fit through but not so big that it is noticeable. If you feel any trouble doing that, you can contact a professional.
Step Three: Thread the Doorbell Wire Through the Hole
Carefully thread the doorbell wire through the hole that you just drilled. You need to make sure that there is enough wire to reach the doorbell button and the chime unit. And of course, you will need extra wire to set. You have to drill much, that’s why. Don’t avoid this step.
Step Four: Mount the Doorbell Button
Using the screws that came with your doorbell, mount the doorbell button to the wall next to your front door. It’s essential to ensure that the doorbell button is level before you screw it into place. Make sure that you screw well.
Step Five: Mount the Chime Unit
The chime unit can be mounted either inside or outside of your home. If you mount the chime unit inside, find a location near your front door. If you are mounting the chime unit outside, find a location that is protected from the elements. It is very important to protect your doorbell, so think of the right place or create any safe place for protection purposes.
Step Six: Connect the Doorbell Button to the Chime Unit
Connect the doorbell button to the chime unit using the wire that you threaded through the hole. Do make sure that the connections are tight so that there is no risk of the doorbell button becoming disconnected.
Step Seven: Test Your Doorbell
Before you put your tools away, it’s essential to test your doorbell to make sure that it is working properly. Press the doorbell button and listen for the chime. If everything is working properly, your doorbell is now installed!
Final Words
Installing a wireless doorbell is a relatively easy process that can be completed in a few minutes. With fewer easy tools and basic knowledge, anyone can install a wireless doorbell. So, what are you waiting for? Go and buy the wireless smart doorbell.


